MB-800 · Question #42
Drag and Drop Question You complete Payment Registration setup. The following options are enabled: - Use this account as default - Auto Fill Date received You need to process a single full payment fro
Payment Registration - Drag-and-Drop Explanation This question is about Microsoft Dynamics 365 Business Central - specifically, applying one customer payment against two separate invoices using the Payment Registration page. --- Context: What the Enabled Settings Change Before se
Question
Exhibit
Options
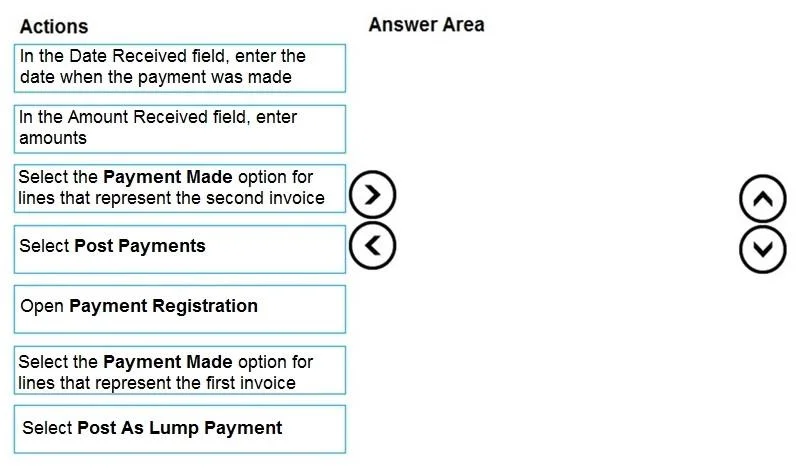
- Action1In the Date Received field, enter the date when the payment was made
- Action2In the Amount Received field, enter amounts
- Action3Select the Payment Made option for lines that represent the second invoice
- Action4Select Post Payments
- Action5Open Payment Registration
- Action6Select the Payment Made option for lines that represent the first invoice
- Action7Select Post As Lump Payment
Explanation
Payment Registration - Drag-and-Drop Explanation
This question is about Microsoft Dynamics 365 Business Central - specifically, applying one customer payment against two separate invoices using the Payment Registration page.
Context: What the Enabled Settings Change
Before selecting actions, the two enabled settings eliminate steps you'd otherwise have to do manually:
| Setting | Effect |
|---|---|
| Use this account as default | The receiving bank/G/L account is pre-selected - no account choice needed |
| Auto Fill Date Received | The date field populates automatically - no manual date entry needed |
This makes Action1 ("enter the date manually") and potentially Action2 ("enter amount") distractors in this scenario.
Correct 4-Step Sequence
Step 1 → Open Payment Registration (Action5)
You cannot interact with the page before opening it. Always first. Nothing else is possible until this is done.
Step 2 → Select the Payment Made option for lines that represent the first invoice (Action6)
After opening the page, you locate the customer's open invoice lines. Checking Payment Made on the first invoice line marks it for payment. Order between Step 2 and Step 3 is interchangeable, but you must mark both invoices before posting.
Step 3 → Select the Payment Made option for lines that represent the second invoice (Action3)
Same action on the second invoice line. Both invoices must be flagged before the system can consolidate them into a single payment entry.
Step 4 → Select Post As Lump Payment (Action7)
This is the critical choice. Because the customer sent one payment covering two invoices, you must use Post As Lump Payment - this creates a single posted payment entry mapped to both invoice lines. Using Post Payments (Action4) instead would create separate payment entries per line, which doesn't match a single received payment.
Why the Other Actions Are Distractors
| Action | Why it's wrong here |
|---|---|
| Action1 - Enter date manually | "Auto Fill Date Received" is enabled; date is already populated |
| Action2 - Enter amount in Amount Received field | Full payment against selected invoices is calculated automatically when both Payment Made boxes are checked |
| Action4 - Post Payments | This posts individually per line; wrong for a single lump-sum receipt |
Most Common Mistakes
- Choosing "Post Payments" instead of "Post As Lump Payment" - This is the most tested trap. "Post As Lump Payment" is specifically for one received payment that covers multiple open entries.
- Including the date entry step - Candidates miss that "Auto Fill Date Received" removes the need for this, making it a distractor.
- Reversing the open/post order - Opening Payment Registration must be first; posting must be last.
Topics
Community Discussion
No community discussion yet for this question.