
MB-500 · Question #70
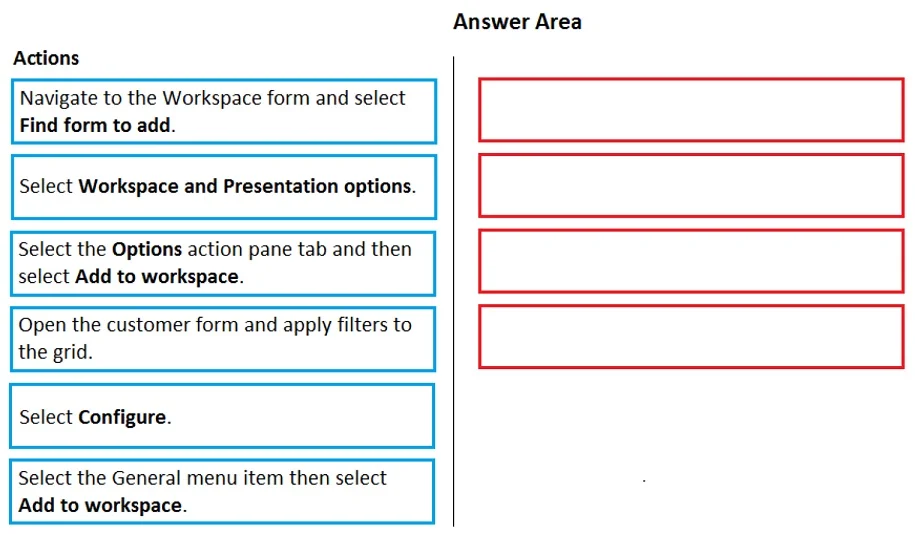
Drag and Drop Question You are a Dynamics 365 Finance developer. Users must be able to view a filtered customer list from within a workspace. You need to add the customer form to a workspace. Which…
The correct answer is Open the customer form and apply filters to the grid.; Select the Options action pane tab and then select Add to workspace.; Select Workspace and Presentation options.; Select Configure. Dynamics 365 Finance: Adding a Filtered Customer List to a Workspace Overview In D365 Finance, the standard way to add a filtered form view to a workspace is through the Options action pane - not by navigating to the workspace itself. The sequence follows a logical "set up…
Question
Exhibit
Answer Area
Drag items
Correct arrangement
- Open the customer form and apply filters to the grid.
- Select the Options action pane tab and then select Add to workspace.
- Select Workspace and Presentation options.
- Select Configure.
Explanation
Dynamics 365 Finance: Adding a Filtered Customer List to a Workspace
Overview
In D365 Finance, the standard way to add a filtered form view to a workspace is through the Options action pane - not by navigating to the workspace itself. The sequence follows a logical "set up, then publish" pattern.
Step-by-Step Breakdown
Step 1: Open the customer form and apply filters to the grid
You must configure the data before adding it to the workspace. D365 Finance captures the current filter state at the moment you invoke "Add to workspace." If you add first and filter later, the workspace tile/list will show unfiltered data. This step is the prerequisite for everything that follows.
Step 2: Select the Options action pane tab and then select Add to workspace
The Options tab on the action pane is the standard D365 Finance entry point for workspace integration. It exposes the "Add to workspace" command, which opens a dialog. This must come after filtering (Step 1) so the filtered state is captured, and before any configuration choices can be made.
Step 3: Select Workspace and Presentation options
The dialog that opens lets you choose:
- Which workspace to add the component to
- Presentation type - list, count tile, chart, or link
You must make these structural decisions before you can configure details, since the available configuration options depend on the presentation type selected.
Step 4: Select Configure
After choosing the workspace and presentation type, Configure lets you fine-tune the display - such as the column layout or tile label. This is always the last step because it depends on all prior choices being made.
Why the Distractors Are Wrong
| Distractor | Why It's Wrong |
|---|---|
| Navigate to the Workspace form and select Find form to add | This is an alternative admin-level method and does not preserve applied filters from the source form. |
| Select the General menu item then select Add to workspace | There is no "General" menu path for this action. The correct tab is Options. This is a common exam trap. |
Key Misconception
Many candidates assume you start in the workspace and pull the form in. The correct approach is the opposite: start in the source form (customer list), configure it how you want it, then push it to the workspace via Options. This is why Steps 1 and 2 are counterintuitive at first glance.
Topics
Community Discussion
No community discussion yet for this question.