
800-150 · Question #81
Drag and Drop Question Drag and drop the actions that must be taken after installing an E-Series server from the left into order on the right. Answer:
The correct answer is Power up the router and server.; Verify that the router recognized the server.; Load a compatible Cisco IOS image onto the ISR.; Connect the server to the network. Cisco E-Series Server Post-Installation Steps - Explained The Cisco E-Series Server is a blade module that physically slots into a Cisco ISR (Integrated Services Router) chassis. After physical installation, these four steps must follow in a specific logical sequence. --- Step…
Question
Drag and Drop Question Drag and drop the actions that must be taken after installing an E-Series server from the left into order on the right. Answer:
Exhibit
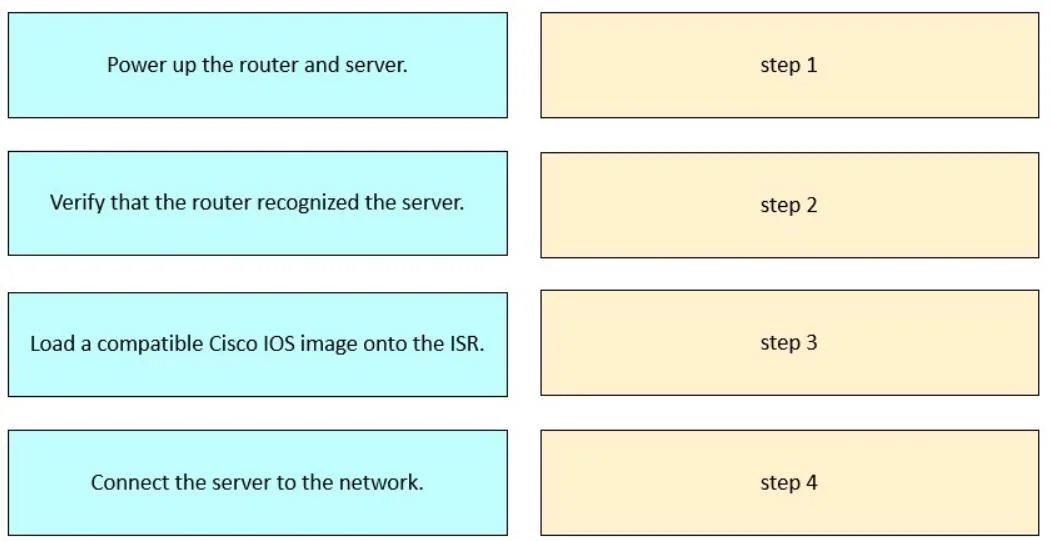
Answer Area
Drag items
Correct arrangement
- Power up the router and server.
- Verify that the router recognized the server.
- Load a compatible Cisco IOS image onto the ISR.
- Connect the server to the network.
Explanation
Cisco E-Series Server Post-Installation Steps - Explained
The Cisco E-Series Server is a blade module that physically slots into a Cisco ISR (Integrated Services Router) chassis. After physical installation, these four steps must follow in a specific logical sequence.
Step 1: Power up the router and server
Why first: The E-Series module draws power from the router chassis - there is no independent power switch. You cannot verify anything, load software, or configure networking until the system is live. This is the prerequisite for every subsequent step.
Step 2: Verify that the router recognized the server
Why second: Once powered up, you check (show platform, boot logs, or similar IOS commands) whether the currently-running IOS version detected and enumerated the E-Series module correctly. This diagnostic step tells you whether you need to act before proceeding. You must know the current state before making changes.
Common mistake: Skipping this and assuming the module is recognized. If the IOS version is incompatible, the module may appear but function incorrectly - or not appear at all.
Step 3: Load a compatible Cisco IOS image onto the ISR
Why third: The E-Series has strict minimum IOS version requirements. If step 2 revealed the module wasn't properly recognized, you upgrade the IOS now. This step may require a reload, which is why it happens before network connectivity is configured - there's no point building network config on an incompatible software base.
Common mistake: Loading IOS before verifying recognition. Verification first tells you which image to load, or whether you even need to.
Step 4: Connect the server to the network
Why last: In this context, "connect to the network" means configuring the E-Series server's logical network connectivity (IP addressing, internal VLAN bridging through the ISR, etc.), not running a physical cable. This configuration only makes sense after the module is confirmed recognized and the IOS is verified compatible - otherwise you'd be configuring a system that isn't stable yet.
Common mistake: Assuming this means physical cabling (which was done during installation). Here it refers to software-level network provisioning.
Summary of the Logic Chain
Power on → Can you see it? → Is software compatible? → Now configure networking
Each step gates the next. You cannot meaningfully execute step N without completing step N-1.
Topics
Community Discussion
No community discussion yet for this question.